
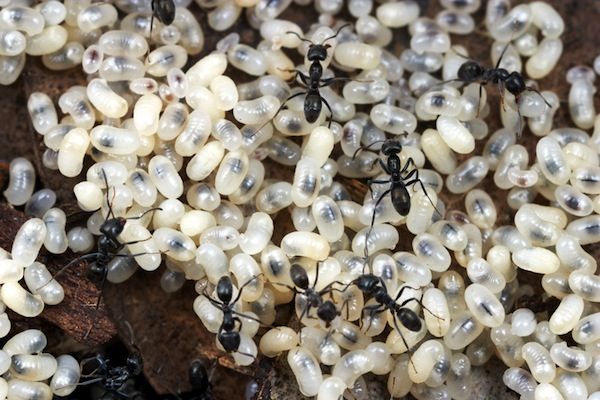
Gourmetamigurumi.com – Cara menyimpan kroto agar awet dan tahan lama dapat kamu ketahui dalam artikel ini. Kroto sendiri menjadi menu wajib dan tergolong spesial bagi […]
Continue reading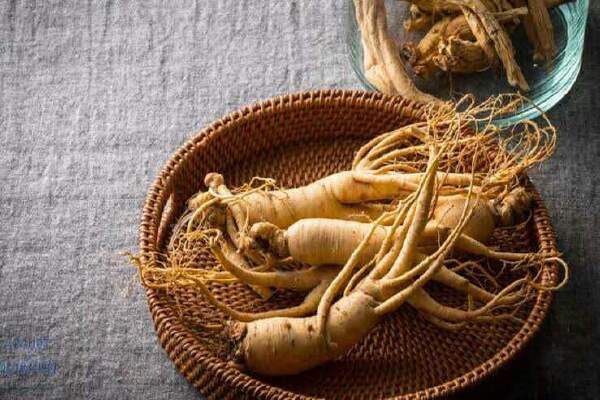
Cara Mengolah Ginseng Yang Baik Untuk Kesehatan
Gourmetamigurumi.com – Cara Mengolah Ginseng. Ginseng merupakan tanaman herbal yang memiliki banyak khasiat, salah satunya terletak pada akar dan daun. Mulai dari mencegah proses penuaan […]
Continue reading
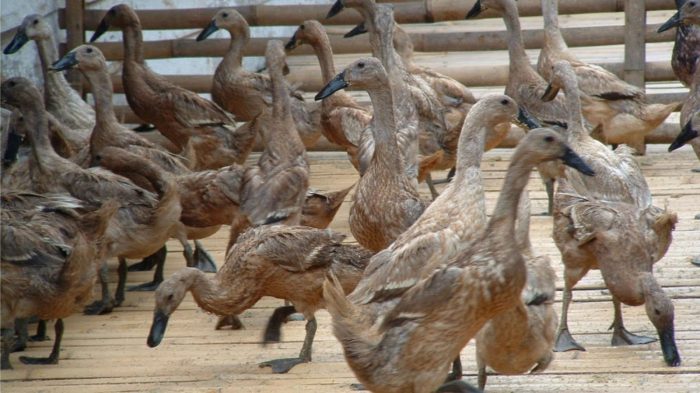
Cara Merawat Anak Bebek Agar Tidak Mati
Gourmetamigurumi.com – Cara merawat anak bebek bisa kamu lakukan sedari dini. Ternak bebek sudah menjadi salah satu usaha yang mana memiliki banyak keuntungan bagi pemiliknya. […]
Continue reading
Cara Mengembalikan Warna Sepatu Yang Sudah Pudar
Gourmetamigurumi.com – Cara Mengembalikan Warna Sepatu Yang Pudar. Setiap orang tentunya akan menggunakan sepatu untuk melakukan aktivitas, mulai dari sekolah, bekerja, olahraga, liburan, dan lain […]
Continue reading
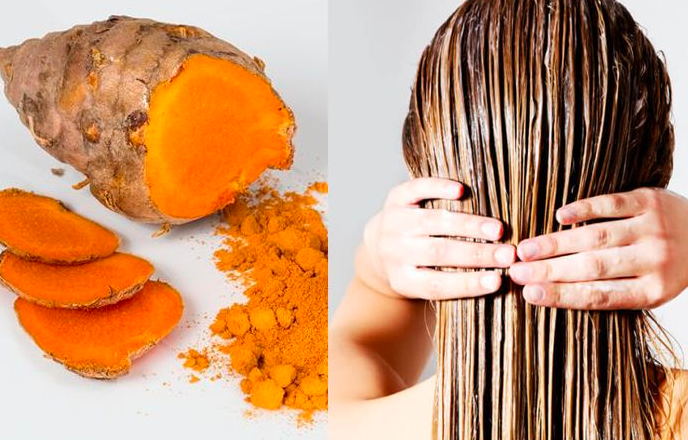
Cara Mewarnai Rambut dengan Bahan Alami Kunyit
Gourmetamigurumi.com – Cara mewarnai rambut dengan kunyit bisa kamu lakukan sendiri di rumah, tapi tetap dengan cara yang benar ya. Mengubah penampilan memang bisa saja […]
Continue reading
Cara dan Bahan Membuat Kerajinan Dari Kulit Sapi
Gourmetamigurumi.com – Kerajinan Dari Kulit Sapi. Salah satu bentuk kreativitas yang bisa menghasilkan keuntungan adalah membuat kerajinan kulit. Kemudian, kerajinan tersebut menggunakan bahan baku kulit […]
Continue reading
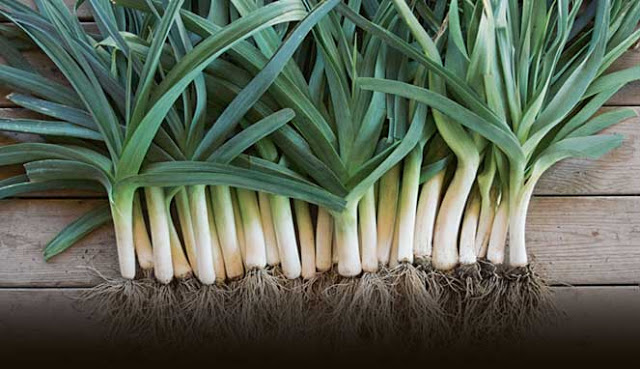
Cara Menanam Daun Bawang dengan Sistem Hidroponik
Gourmetamigurumi.com – cara menanam daun bawang hidroponik bisa kamu lakukan sendiri mesti lahan yang di pergunakan tidaklah begitu besar. Daun Bawang sudah masuk ke dalam […]
Continue reading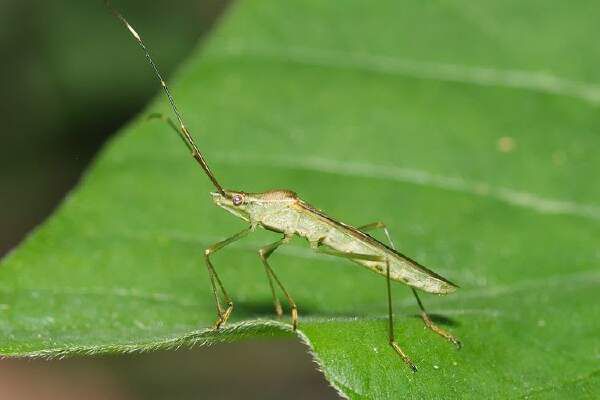
Bau Menyengat, Begini Cara Mudah Mengusir Walang Sangit
Gourmetamigurumi.com – Cara Mengusir Walang Sangit. Walang sangit merupakan jenis serangga yang berwarna hijau atau cokelat dan tubuhnya sering mengeluarkan bau yang menyengat. Kemudian, ciri […]
Continue reading
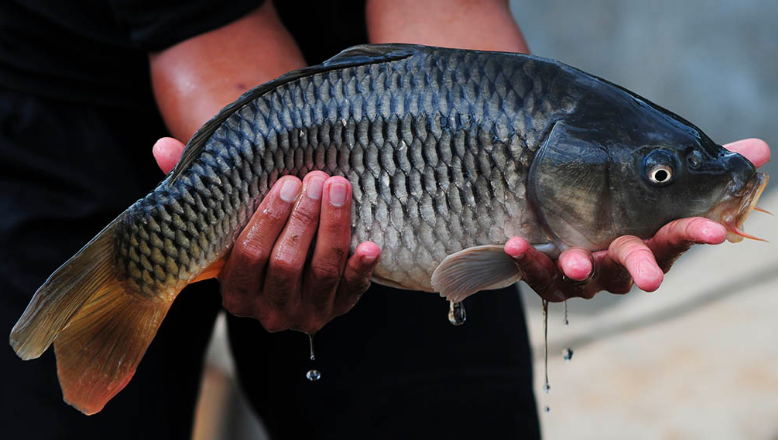
Cara Bikin Essen Ikan Mas Terbaik
Gourmetamigurumi.com – Cara bikin essen ikan mas sesuai tutorialnya bisa kamu temukan pada artikel kali ini. Bagi kamu yang senang memancing, sudah pasti memiliki keinginan […]
Continue reading
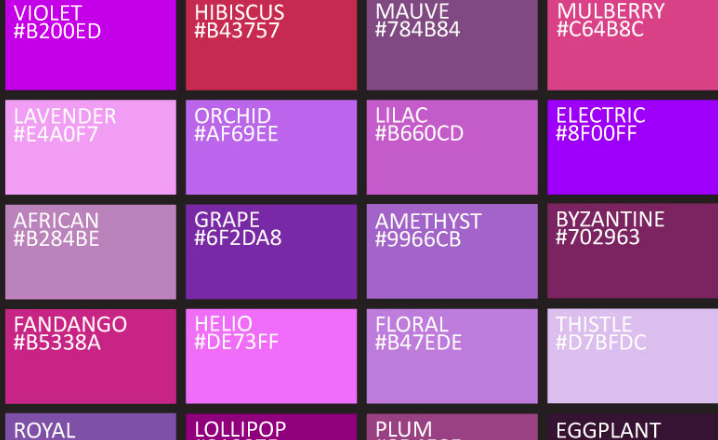
Macam-Macam Warna Ungu yang Paling Populer
Gourmetamigurumi.com – Macam-macam warna ungu ada banyak, kurang lebihnya sekitar 8 akan mimin beritahukan dalam artikel ini. Warnanya sendiri sudah menjadi hasil campuran antara dua […]
Continue reading
Komentar Terbaru